PET Preform Injection Molding : Troubleshooting Guide for 6 Common Issues
PET Preform Injection Molding is a complex process that can be difficult to master. In order to ensure that your PET preforms are of the highest quality, you need to understand the common problems that can arise during production and how to solve them. In this guide, we will explore the 6 most common issues that occur in PET preform injection molding and provide practical solutions for resolving them. We hope it will help you achieve higher-quality PET preforms that meet your exact specifications by addressing the problems that commonly arise during PET preform production.

Pet Injection Molding Basics
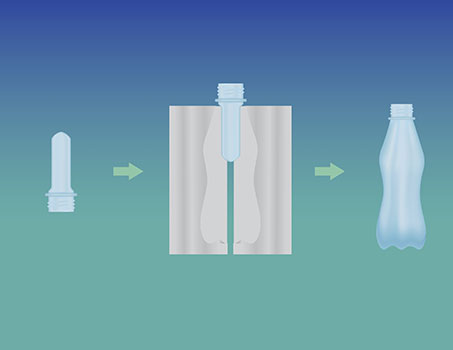
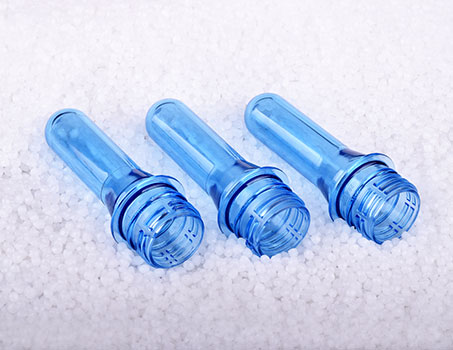
When manufacturing PET preforms, the granulated resin is initially heated to create a smooth, liquefied mixture that is then injected into a mold. The preforms are then cooled to allow them to solidify, with their walls remaining relatively thick at this stage as the form is not yet complete. Then, the preform goes through the process of blowing to produce a bottle.

It is important to note that each stage of the PET preform production process has a significant impact on the final product's quality. Therefore, it is crucial to ensure that each stage is executed correctly and accurately to achieve the desired outcome. From heating the resin to blowing the bottle, every step must be carefully managed and monitored to produce high-quality PET preforms.
The quality of PET preforms has a significant impact on the subsequent step of PET preform blowing, as it is a critical part of the secondary processing. If the preforms have defects such as insufficient moisture or discoloration, it can lead to issues during the pet bottle blowing process and result in failure.

Here are 6 practical tips for troubleshooting common issues with PET preform injection molding:
| Common issue | Reason | Solution |
|---|---|---|
1. Crystallizing whitening | -Insufficient material drying -(temperature whitening) The front of hot runner and nozzle temperature are low -(stress whitening) the holding pressure is too high | -Resin dehumidifying (≦70ppm) -raise the temperature of the front of hot runner and nozzle -reduce the pressure holding time |
2. Black dots at surface | -Screw design problem -The raw materials are polluted or have impurities in them -Nozzle outlet and R angle do not match with the mold -There is a blind spot in the design of the hot plate runner. | -Use screw design of L/D ratio ≧25 with flight fine grind to Ra1~1.2 -Check resin: rinse the barrel -Readjust the nozzle center -Change hot runner corner into filet design |
3. Yellowish | Dehumidified material left too long (9-10hrs) before use. | Adjust output volume and dehumidifying volume (need to consume within 8hrs) |
4. Bubble formed in preform | -Screw L/D design is too small, resulting in too short compression zone with excessive shear -RPM setting too high -Few happens when the air is sucked in due to prolonged suck back. | -Use screw design of L/D ratio ≧25 with flight fine grind to Ra1~1.2 -lower the RPM -Make sure size of carriage cylinder strong enough for the duty, nozzle center and R angle must be correctly matching, appropriately adjust suck back position. |
5. Shrinkage led to uneven thickness | -Shrinkage problem: Insufficient pressure holding -Uneven thickness: Mostly due to poor concentricity of the mold. | -Increasing pressure holding time, increasing cooling time. -Check concentricity of the product – rectify mold accordingly. |
6. Not transparent | -Insufficient dehumidification of the resin. -The problem of heat storage from mold itself. | -Make sure resin dehumidify to (≦70ppm) -Avoid machine in the heating zone, preferably placed in an air conditioned room. Make sure cavity side and mold opening area is well cooled with A/C. |


